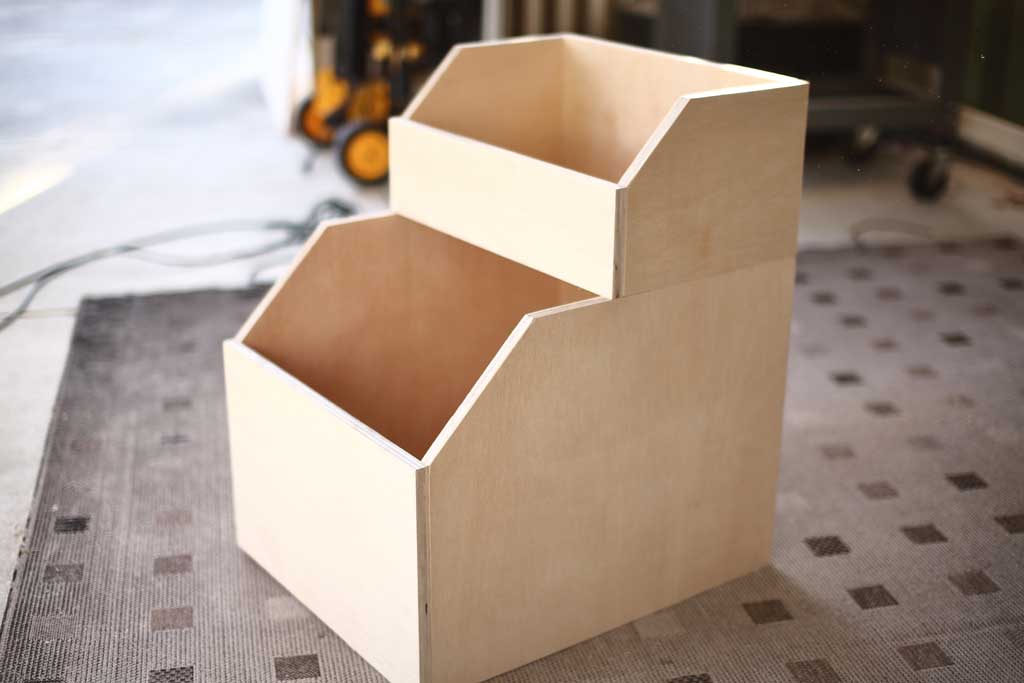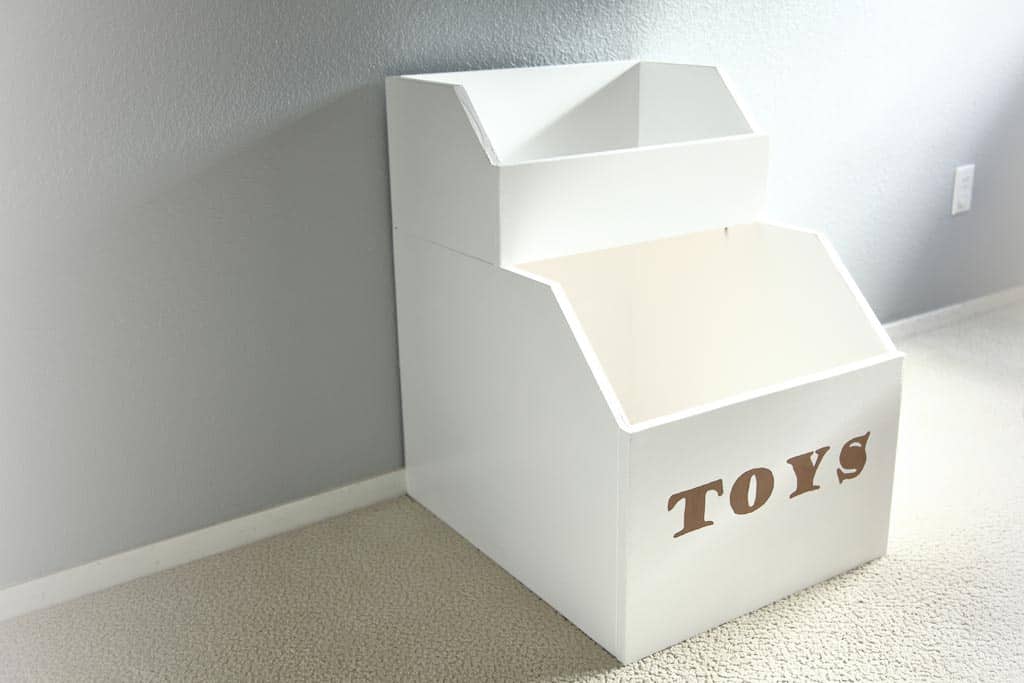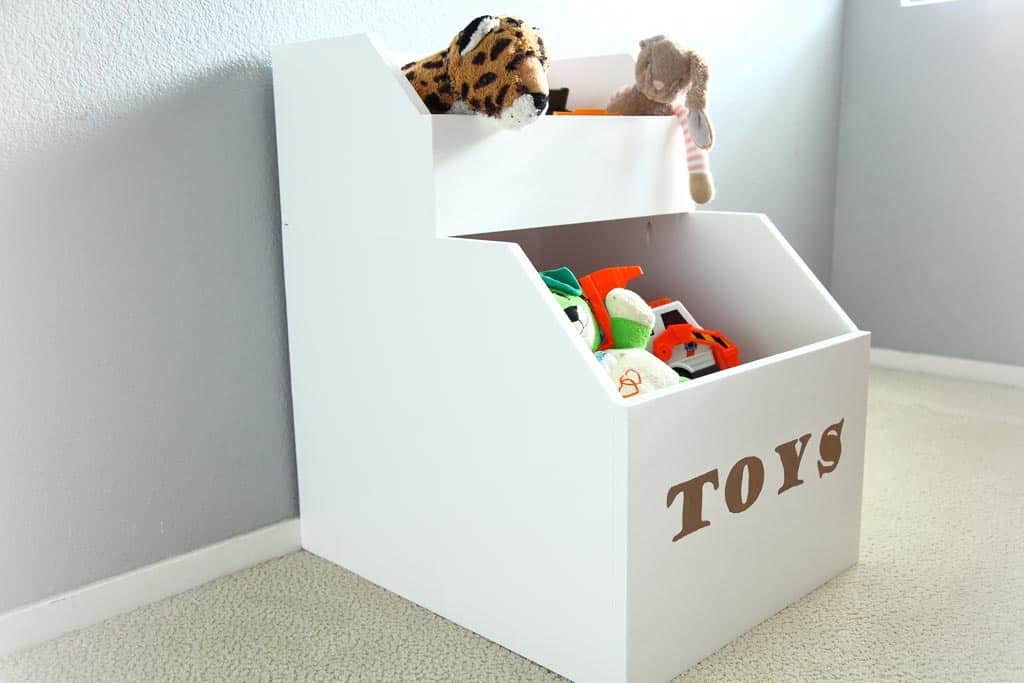
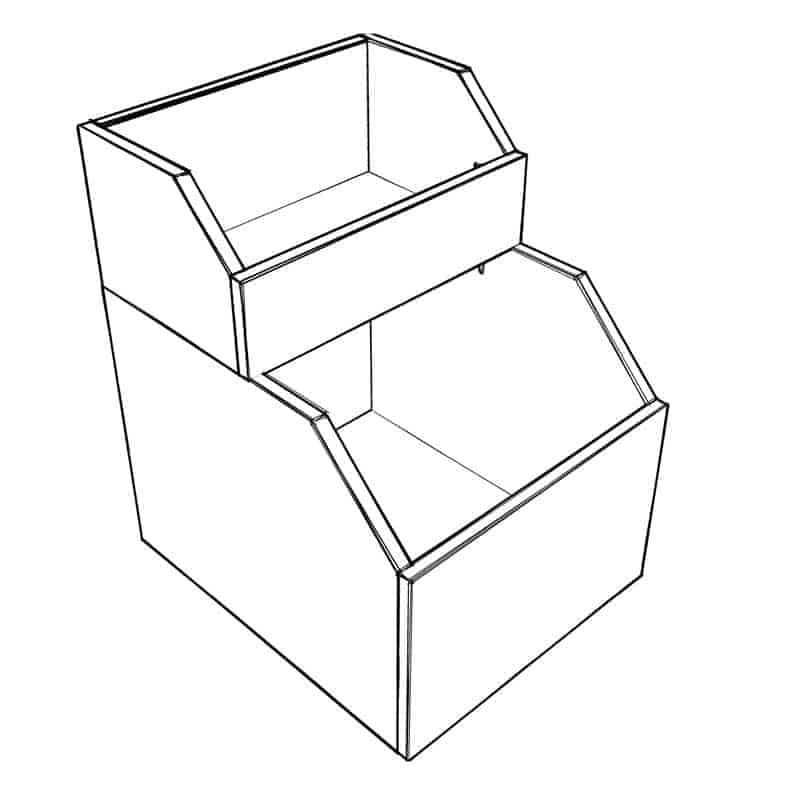
Our kid’s bedroom didn’t have a good storage to keep their toys organizes. So we decided to build this piece to keep their toys at least in one area. A lot of time they had their toys on the floor in a corner but now with this DIY Storage for Toys that we built will help them keep it more organized. Here are the step to build it.
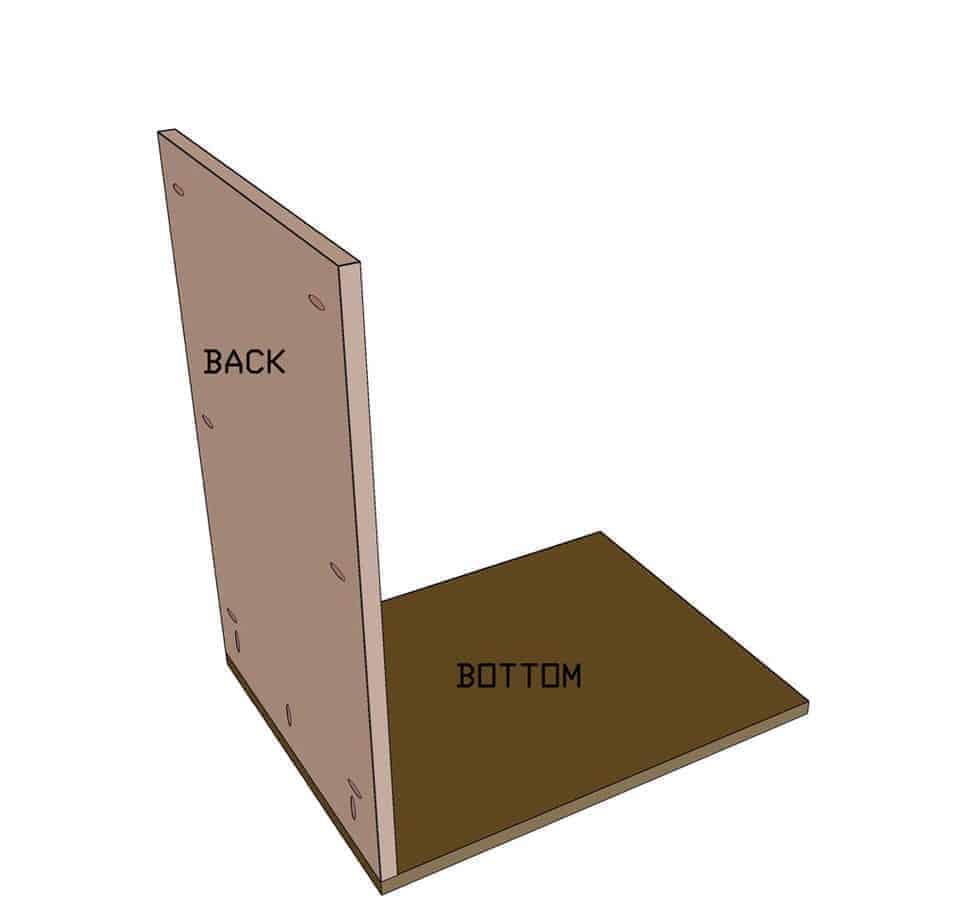
- Cut and Attach Bottom Piece to Backside
- Attach Sides with Pocket Hole Screws
- Attach the Front Board to the Sideboards
- Assemble the Upper Section of the Storage
- Finish by Attaching the Front Piece
This is a very simple and inexpensive project to build using only plywood. Material cost about $35, depending on what type of plywood you purchase.
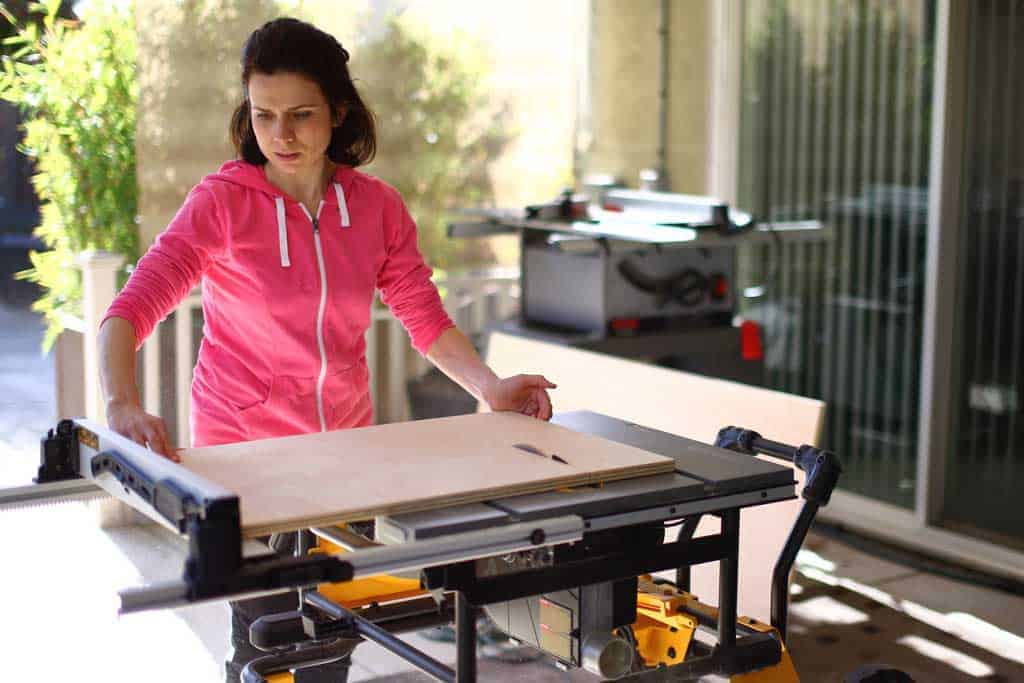
My wife built this Toys storage mainly by herself. See the video below.
You also might be interested in DIY Curved Shelf that I’ve built for a customer that teaches pre-school.
Toys Storage Box for Kids PDF
$6.97
This PDF download includes Cut Diagrams, a List of Supplies, and 3D illustrations with detailed steps to build the project. Measurements are in imperial and not metric. Does NOT include SketchUp/CAD files.
The plans are embedded on the webpage for free, but if you would like to support the website, you can pay a small fee to purchase the printable PDFs.
Thank you for your support!
Related products
Tools for this project
Material List
- 4’x8′-3/4″ Plywood (x1)
- 1 1/4″ Pocket hole screws
Note: Lumber dimensions are listed as nominal size. See lumber sizes for actual dimensions vs nominal.
Disclosure: Some of the links on this page as well as links in “tools for this project” and “material list” sections are affiliate links.
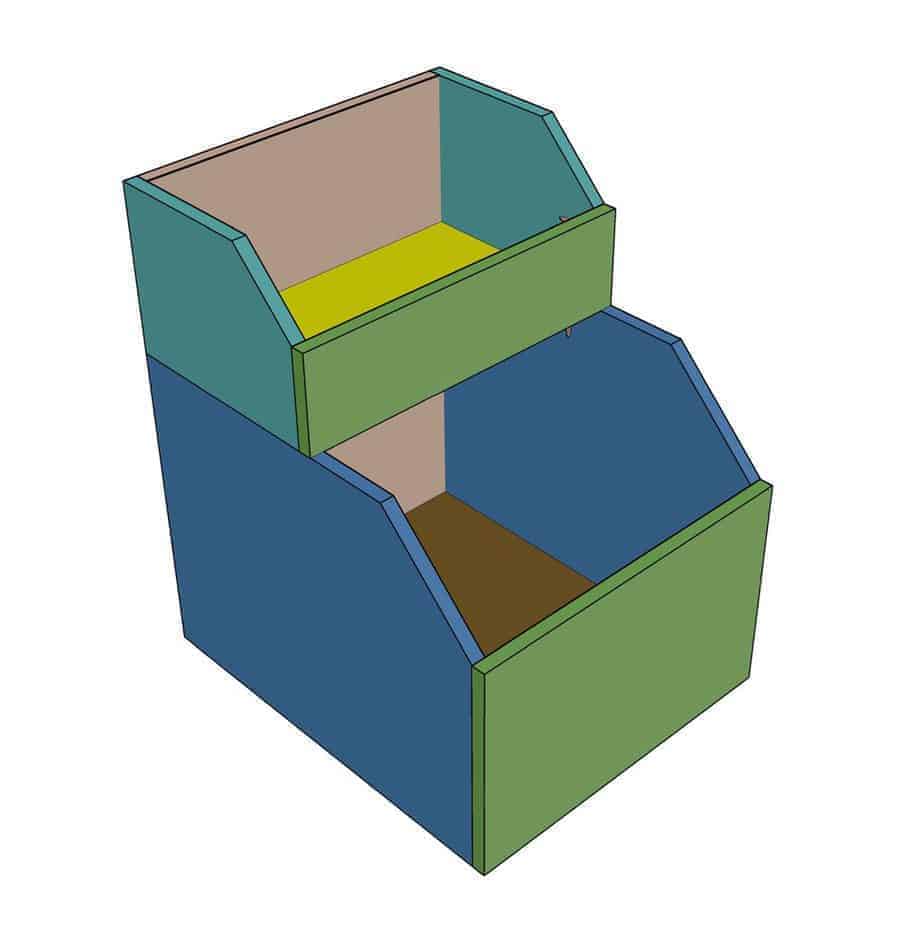
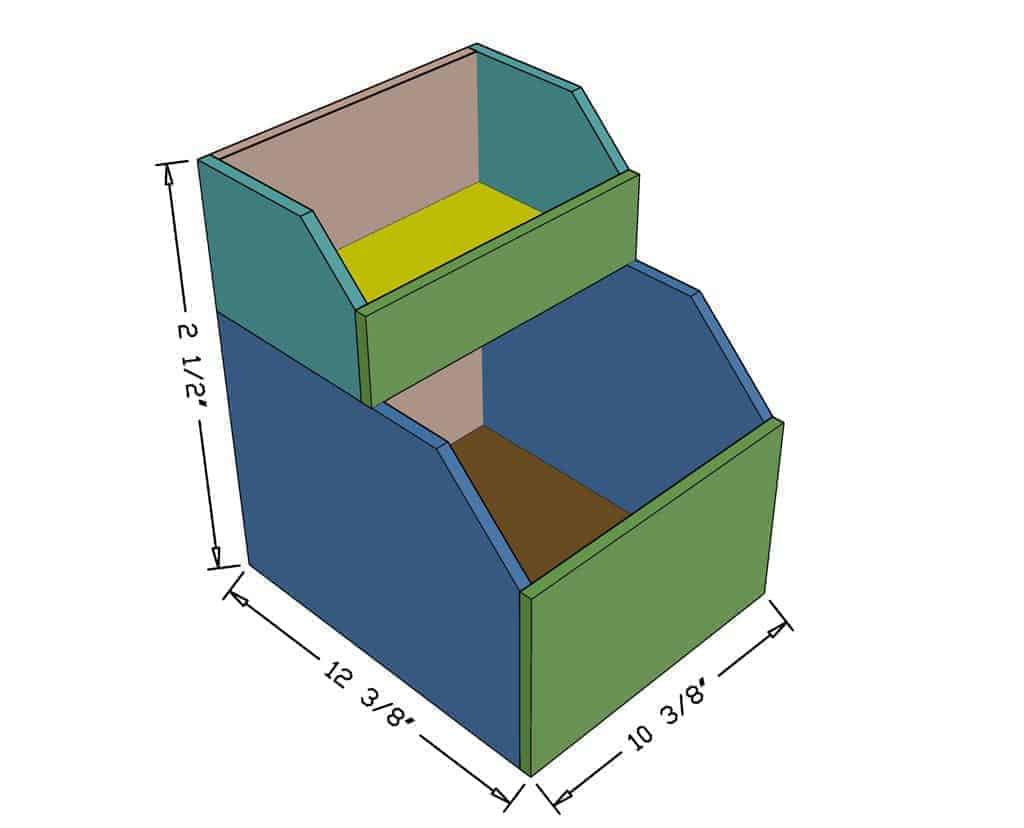
Dimensions
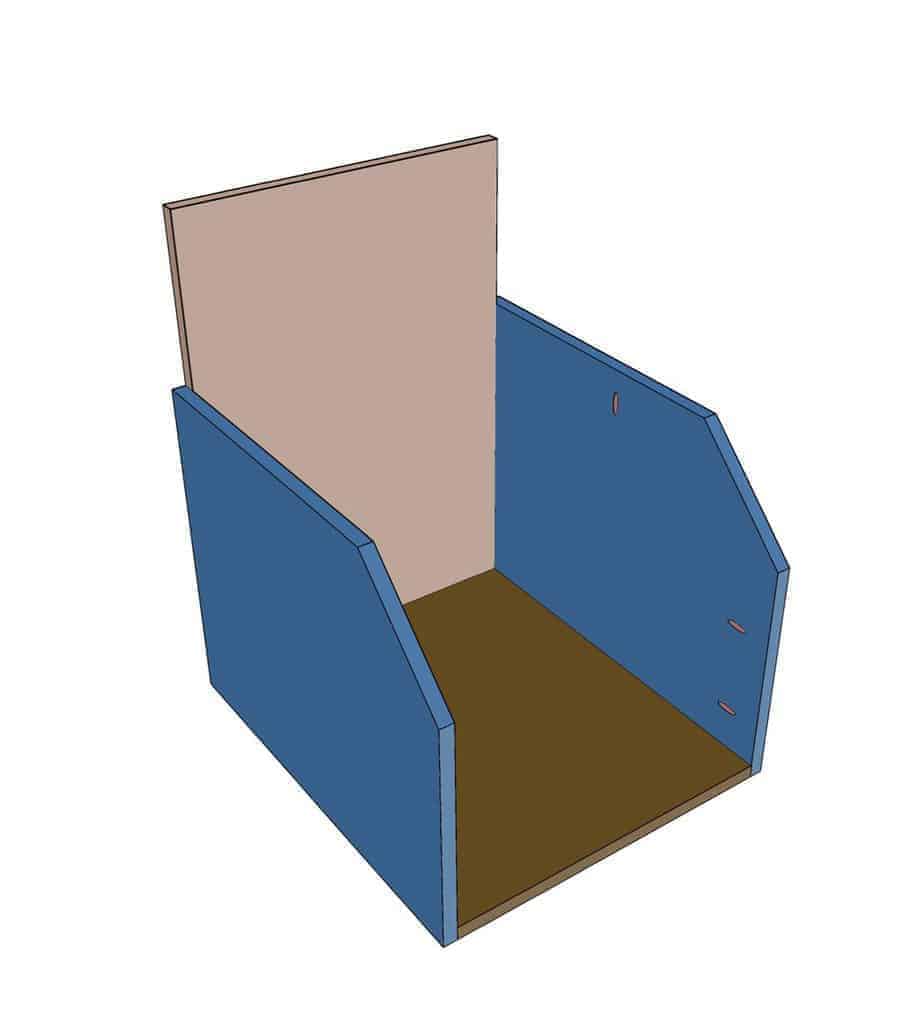
Step 1 – Cut and Attach Bottom Piece to Backside
Cut all pieces to dimensions provided in the cut list using a miter saw and/or table saw. Drill pocket holes with Kreg Jig. Then attach the back sideboard to the bottom board.

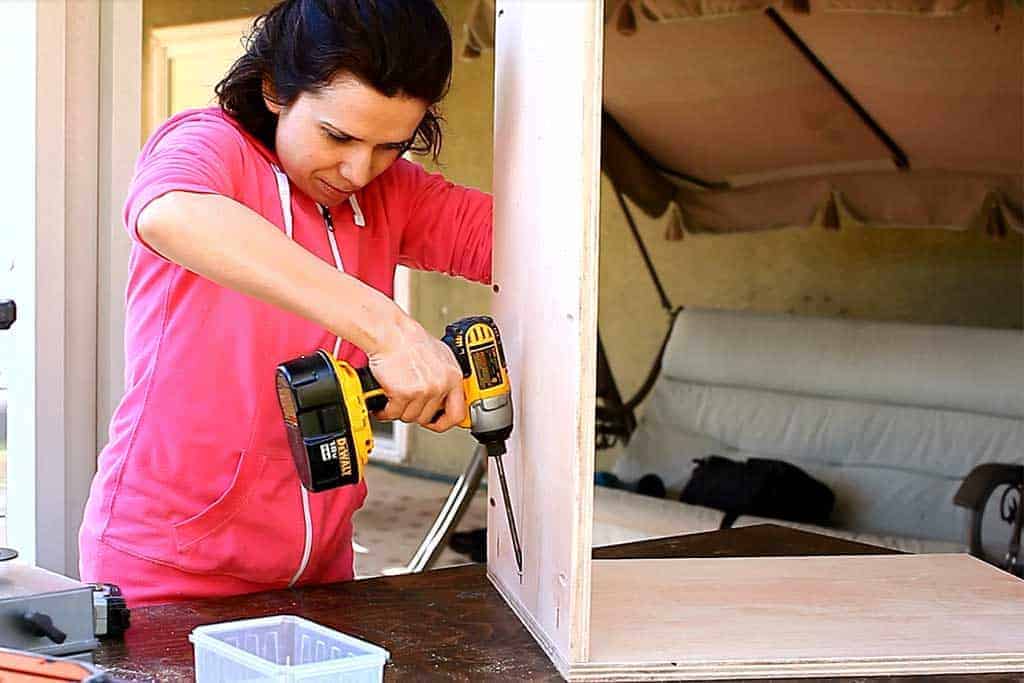
Step 2 – Attach Sides with Pocket Hole Screws
Next attached the sides using 1 1/4″ Pocket hole screws.
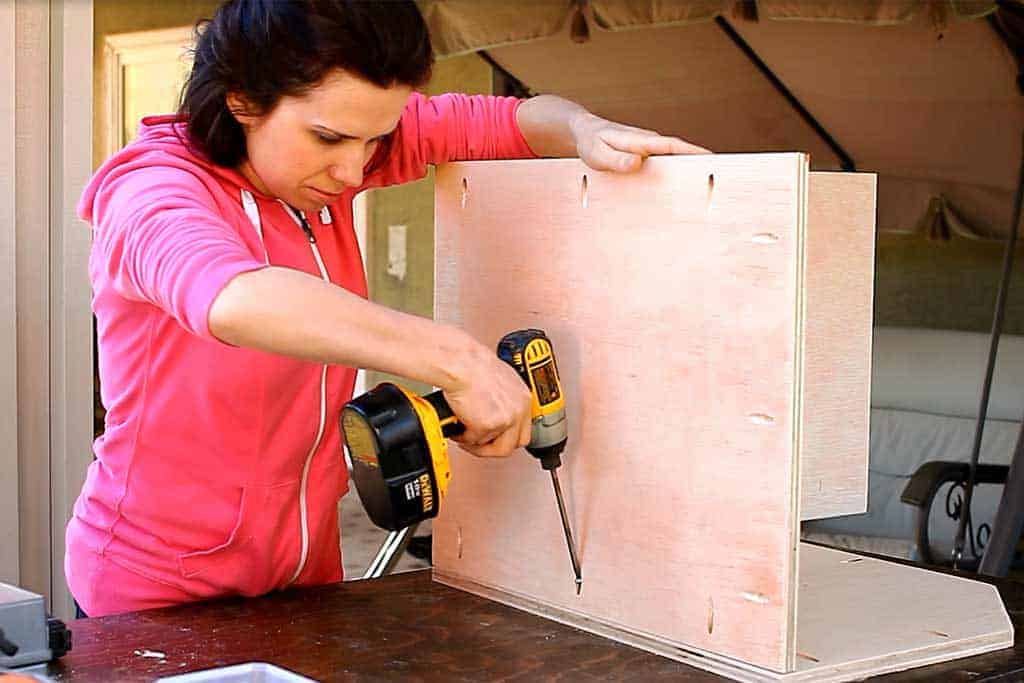
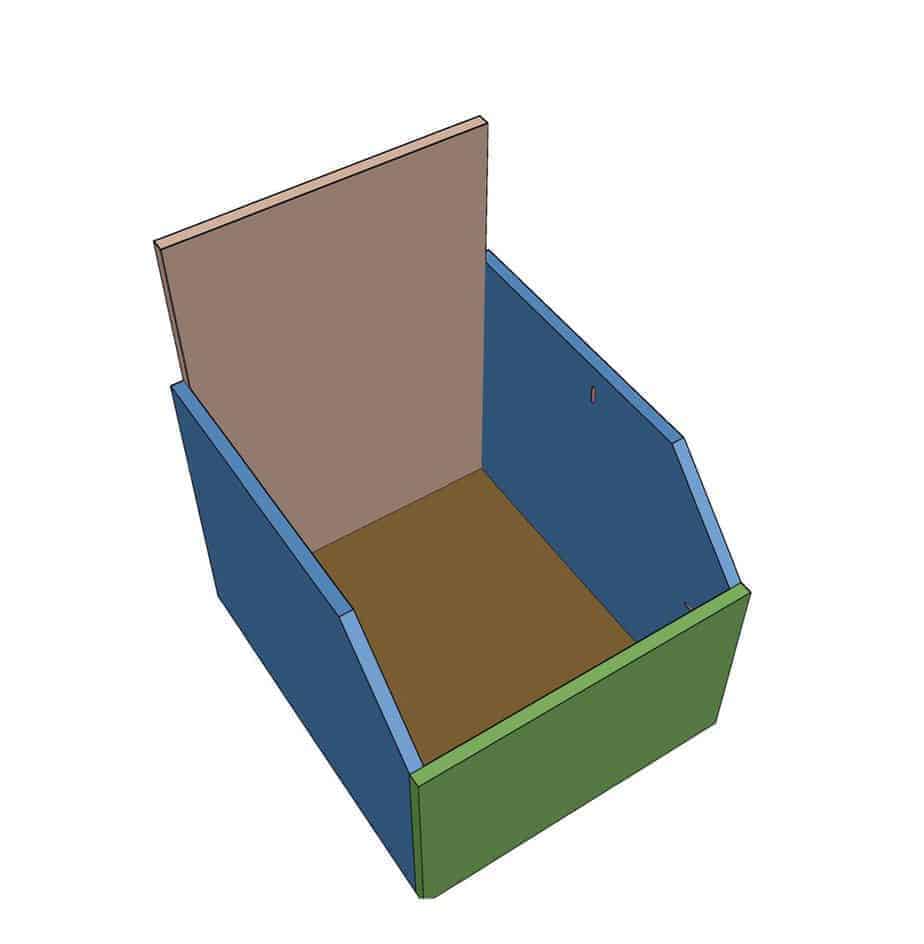
Step 3 – Attach the Front Board to the Sideboards
Then attach the front piece.
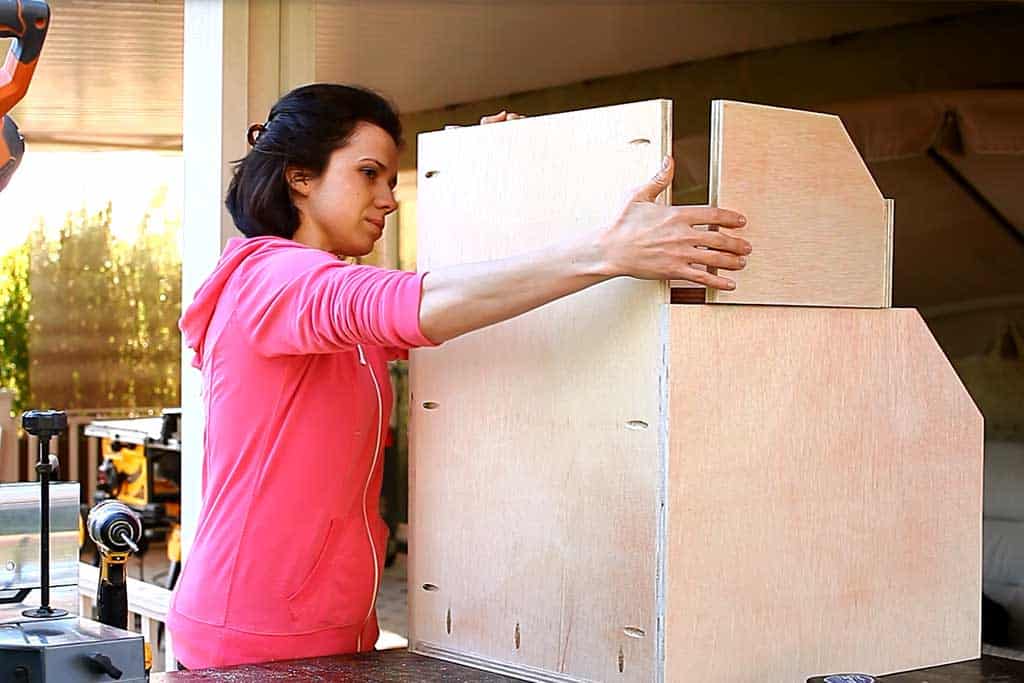
Step 4 – Assemble the Upper Section of the Storage
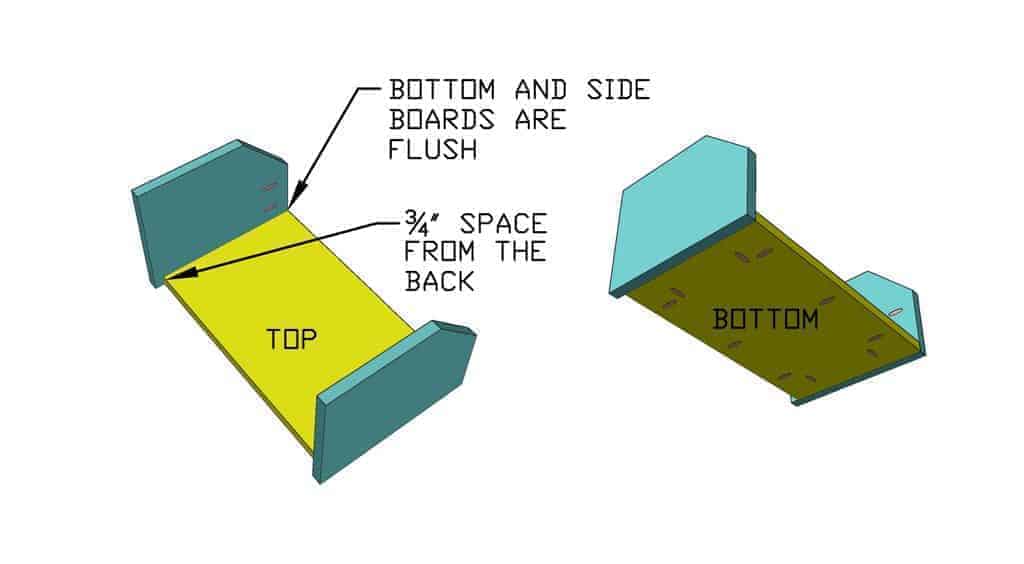
Now for the upper section attached the smaller sides to the bottom board. Make sure that the front sideboards are flushed and the backside has 3/4″ space.
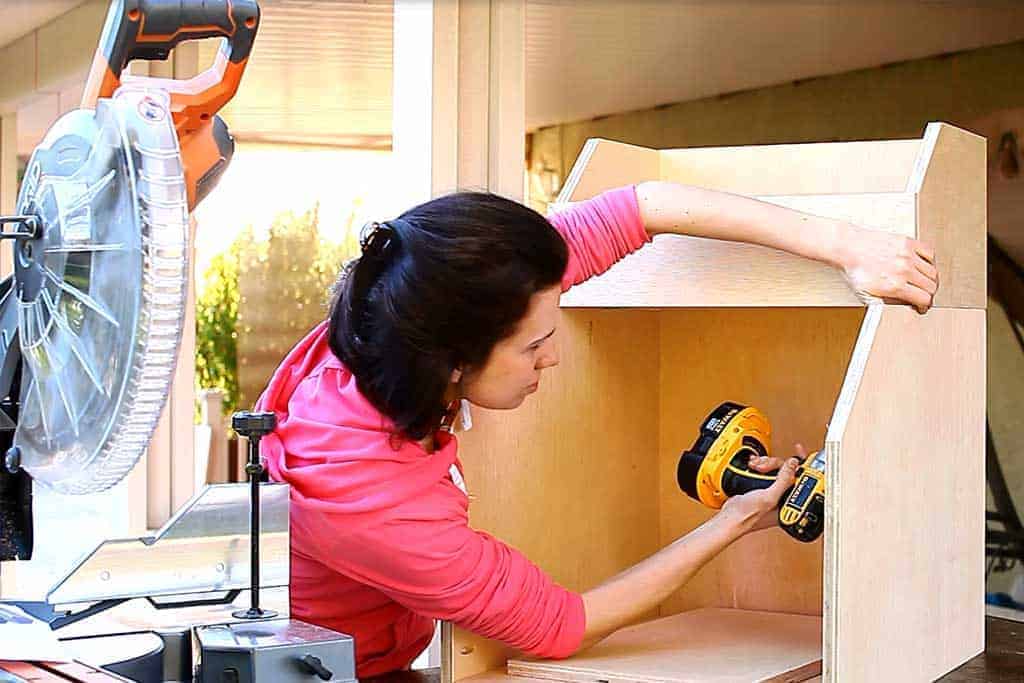
Step 5 – Finish by Attaching the Front Piece
Finally, attach the front piece to the upper section.